Diferència entre revisions de la pàgina «Making a QML gauge from GIMP»
De Wiki d'en Jordi Binefa
m (→Drawing a gauge using GIMP) |
m (→Drawing a gauge using GIMP) |
||
| Línia 4: | Línia 4: | ||
[http://gimpchat.com/viewtopic.php?f=23&t=303 Steps to create a speedometer gauge]. It uses [https://github.com/bzed/gimp-plugin-registry/blob/master/layer-effects/layerfx.2.8.py layerfx.2.8.py script]. It should be copied at '''~/.gimp-2.8/scripts''' folder giving execution permissions ('''chmod u+x layerfx.2.8.py '''). | [http://gimpchat.com/viewtopic.php?f=23&t=303 Steps to create a speedometer gauge]. It uses [https://github.com/bzed/gimp-plugin-registry/blob/master/layer-effects/layerfx.2.8.py layerfx.2.8.py script]. It should be copied at '''~/.gimp-2.8/scripts''' folder giving execution permissions ('''chmod u+x layerfx.2.8.py '''). | ||
| − | [https://github.com/jordibinefa/Qt/blob/master/gauge01/madeWithGimp/indicador00.xcf indicador00.xcf is a free version of previous tutorial | + | [https://github.com/jordibinefa/Qt/blob/master/gauge01/madeWithGimp/indicador00.xcf indicador00.xcf] is a free version of previous tutorial. |
Revisió del 16:46, 10 ago 2018
Drawing a gauge using GIMP
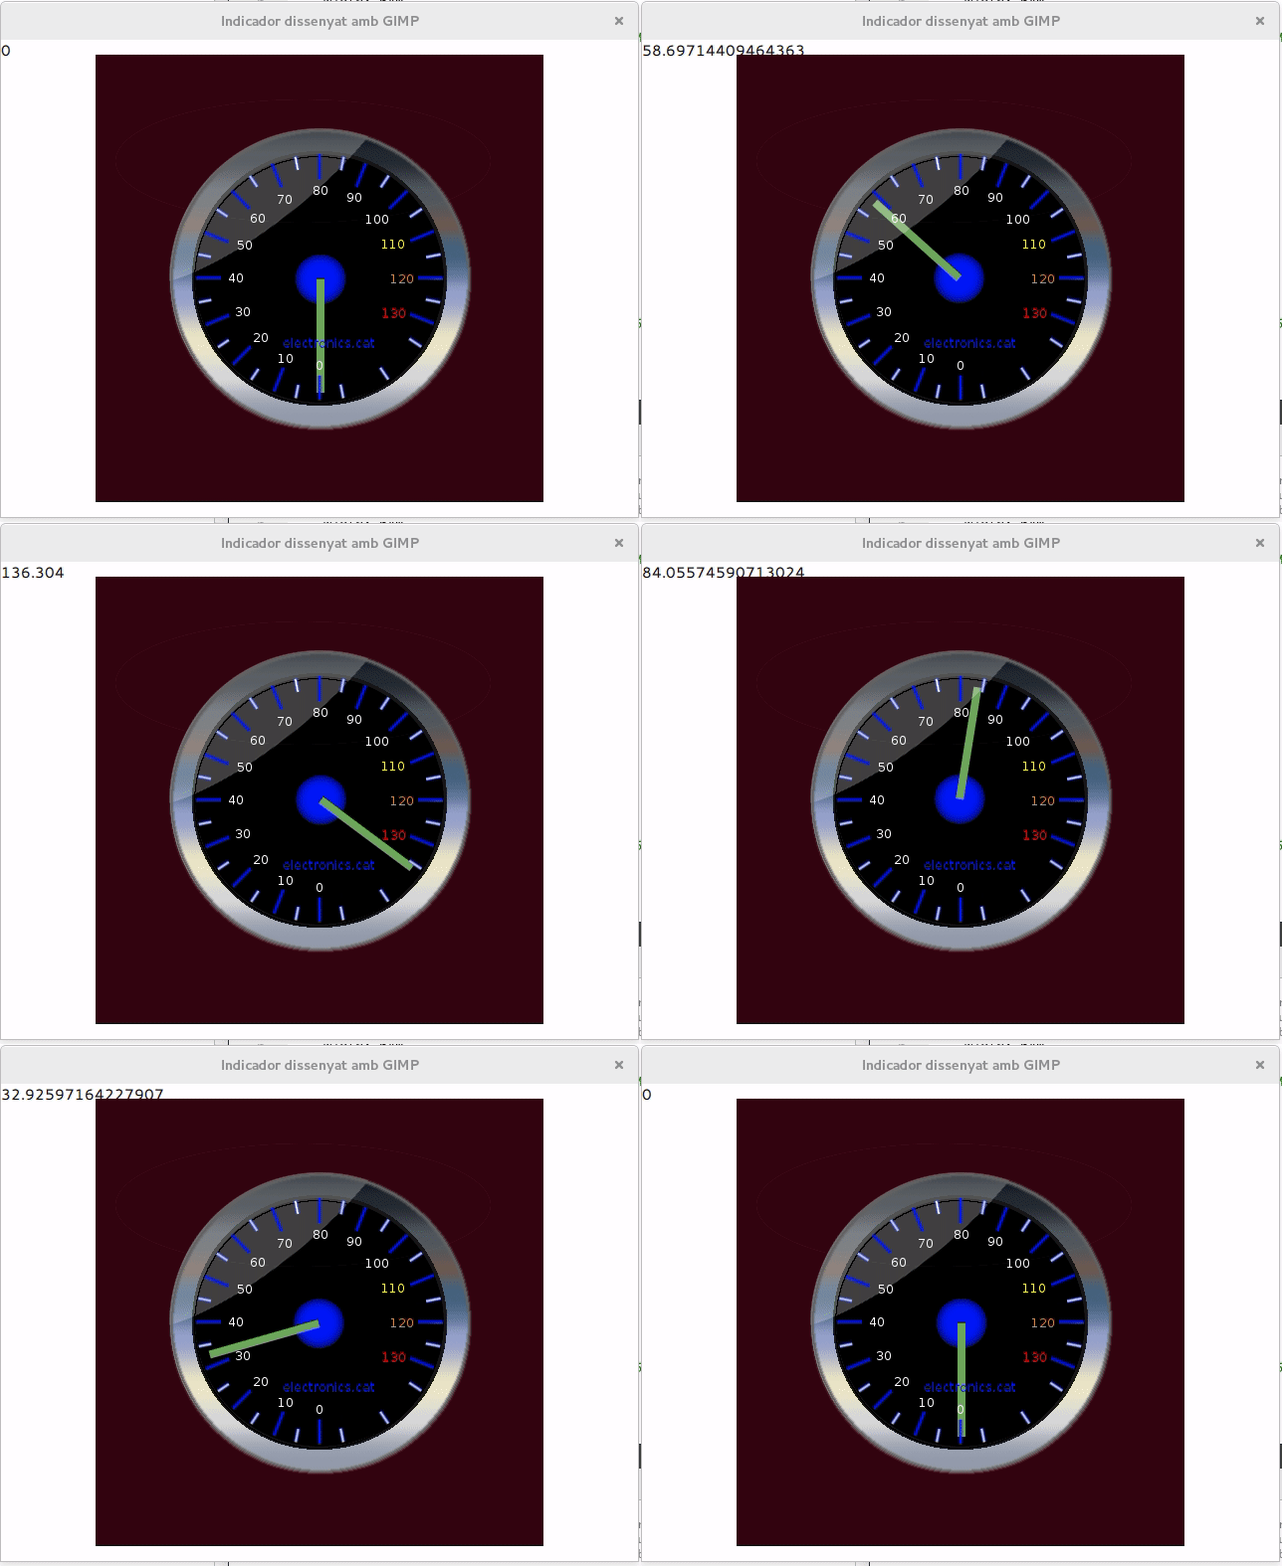
Steps to create a speedometer gauge. It uses layerfx.2.8.py script. It should be copied at ~/.gimp-2.8/scripts folder giving execution permissions (chmod u+x layerfx.2.8.py ).
indicador00.xcf is a free version of previous tutorial.
